STEP 1
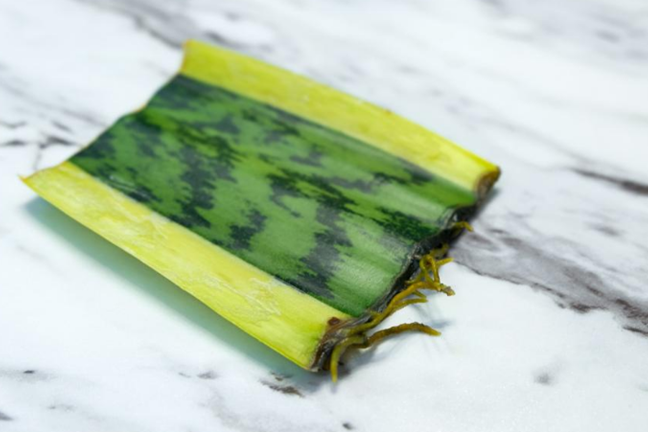
Choose a healthy section of your plant, ideally with at least 2 nodes (the bump along the stem where the leaf attaches). Using a clean, sharp pair of secateurs or scissors, take a cutting just below the second node. Remove the lower leaf and discard.
NB: You can take longer cuttings if you wish. Remove a few of the lower leaves, leaving the cutting with at least two leaves – this will allow the cutting to focus its energy on growing roots than foliage.
STEP 2
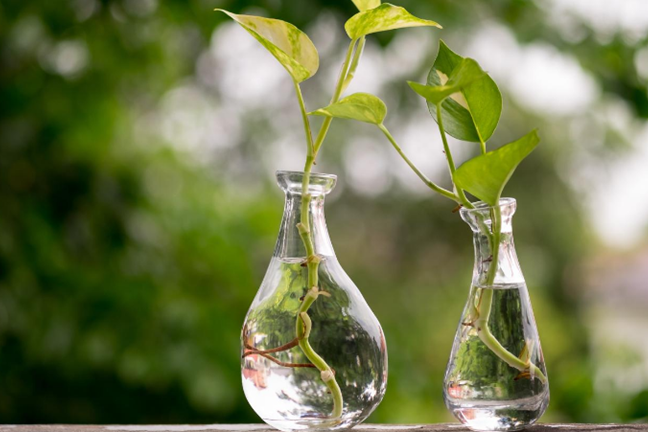
Fill a glass or vessel of choice with room-temperature water. Place the cutting in the water, ensuring at least one node is completely submerged.
STEP 3
Position cutting in a brightly lit spot, out of direct sunlight. Top up water regularly or change if it becomes murky.
TIP: Add a dash of eco-seaweed to the water and mix until it becomes the colour of a weak tea – this will help promote root growth.
STEP 4
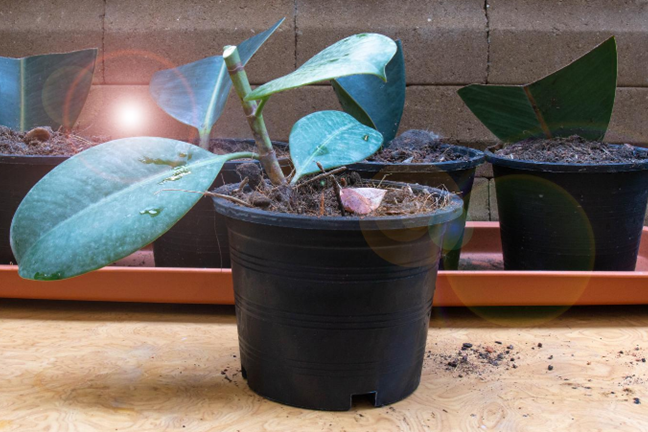
After 4-6 weeks, roots will form. Once the roots are 10-12 cm long, transplant into a small pot and water in well with diluted seaweed. The best time to transplant is during the warmer months, when plants are actively growing, however, it's still possible to do this during cooler periods, just make sure it's sitting in a warm spot. Once new growth is observed on the plant, feed with Yates Thrive Indoor Plants Liquid Plant Food diluted to half strength.


