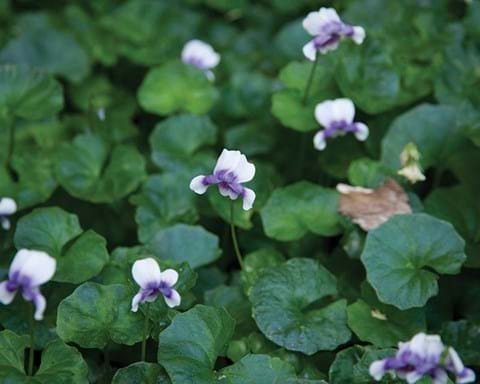
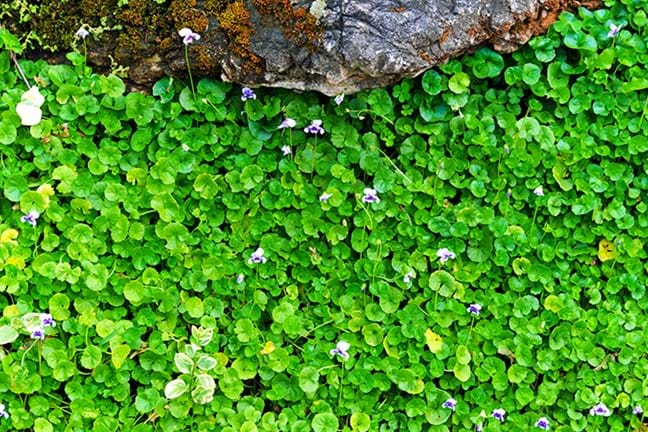
How to grow native violas in a garden
Step 1
Choose a place in the garden that gets filtered sun or full shade. Prepare the planting area well by digging in a small amount of
Yates Dynamic Lifter Soil Improver & Plant Fertiliser.
Step 2
Dig the planting hole twice as wide and to the same depth as the root-ball. Remove the plant from the container, gently tease the roots.
Step 3
Position in hole and backfill with soil, gently firming down. Form a raised or doughnut shaped ring of soil around the outer edge of the plant's root zone. This helps keep water where it's needed. Always water in well after planting to settle the soil around the roots and keep the soil moist for several weeks while the new plant establishes.
Step 4
Mulch around the base with organic mulch, keeping it away from the base of the plant.
Step 5
Feed lightly twice a year with Yates Dynamic Lifter Soil Improver & Plant Fertiliser.
How to grow native violas in a pot
Step 1
Choose a pot that is at least twice the size of the selected plant. Position in the garden or choose a position indoors that receives filtered sun or full shade.
Step 2
Fill the pot with a quality potting mix, such as
Yates Potting Mix with Dynamic Lifter.
Step 3
Remove the plant from the container, gently tease the roots.
Step 4
Position in hole and backfill with potting mix, gently firming down. Water in well.
Step 5
Mulch around the base with organic mulch, keeping it away from the base of the plant.
Step 6
Feed lightly twice a year with Yates Dynamic Lifter Soil Improver & Plant Fertiliser.


