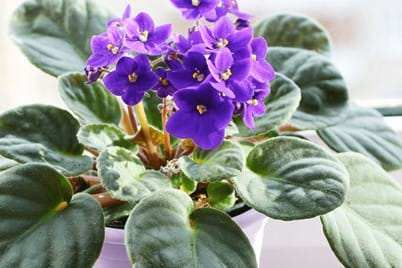
How to grow peperomia in a pot
Step 1
Choose a pot at least 400mm wide (or larger, depending on the size of your plant). Position in well-lit spot, away from direct sunlight.
Step 3
Remove the plant from the container, gently tease the roots and cut away any circled or tangled roots.
Step 4
Position in hole in centre of pot and backfill with potting mix, gently firming down. Water in well afterwards.
Step 5
Water when the potting mix is dry – insert your index finger to the first knuckle, if it's dry, water and if it's moist, don't water.
Step 6
Feed the plant fortnightly from spring to autumn with
Yates Thrive Houseplant Liquid Plant Food. This fertiliser promotes strong root development and healthy foliage growth. No feeding is required during the winter months.
How to grow peperomia in a garden
Step 1
Choose a spot in the garden that receives filtered sun and has well drained soil. In poorly drained areas, create an elevated mound of freely draining soil.
Step 2
Dig a hole in the prepared mounds the same size as the root ball.
Step 3
Holding the main body of the plant with one hand, gently backfill the hole, pushing the soil under and around the roots so that the plant is sitting high on the mound.
Step 4
If the plant is unstable, you can use some supports such as stones or pots to hold it upright while its roots settle in.
Step 5
Water in well. Ensure that you also place some water into the central part of the plant as this is where they draw in further moisture as well.
Step 6
Feed in spring and autumn with
Yates Dynamic Lifter Soil Improver & Plant Fertiliser to promote strong root development and healthy colourful foliage.
