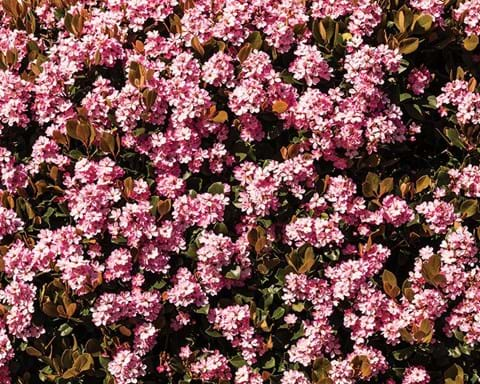
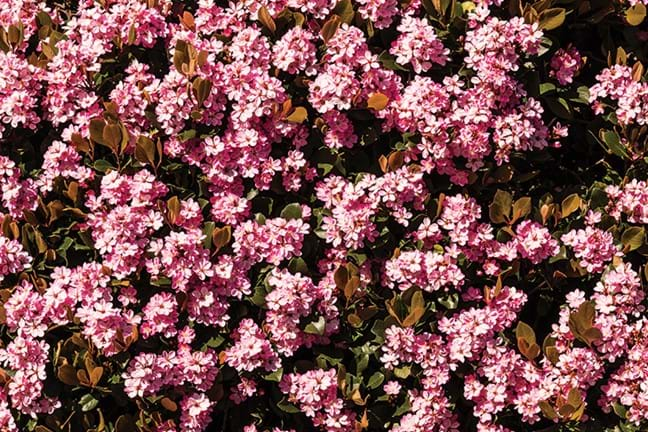
How to grow indian hawthorn in your garden
Step 1
Choose a place in the garden that gets full sun. Autumn is a good time to start a new hedge.
Step 3
Dig the planting hole twice as wide and to the same depth as the root-ball. Remove the plant from the container, gently tease the roots.
Step 4
Position in hole and backfill with potting mix, gently firming down. Form a raised or doughnut shaped ring of soil around the outer edge of the plant's root zone. This helps keep water where it's needed. Always water in well after planting to settle the soil around the roots and keep the soil moist for several weeks while the new plant establishes.
Step 5
Mulch around the base with organic mulch such as bark chips, sugar cane or pea straw, keeping it away from the trunk. Water in well.
Step 6
Feed occasionally with Yates Dynamic Lifter Soil Improver & Plant Fertiliser to ensure strong root development.
Step 7
Prune on a regular basis to help create a dense hedge effect. Prune in autumn to help maximise spring flowering.
How to grow indian hawthorn in a pot
Step 1
Choose a good sunny position.
Step 2
Choose a suitable pot. You can use large round pots or large cement planters depending on the effect that you require.
Step 3
Fill the pot with a quality potting mix, such as
Yates Potting Mix with Dynamic Lifter.
Step 4
Remove the plant from the container, gently tease the roots and cut away any circled or tangled roots.
Step 5
Position in a hole and backfill with potting mix, gently firming down.
Step 6
Mulch around the base with organic mulch such as bark chips, sugar cane or pea straw and water in well.
Step 7
Feed occasionally with Yates Dynamic Lifter Soil Improver & Plant Fertiliser to ensure strong root development.
Step 8
Prune on a regular basis to help create a dense hedge effect. Prune in autumn to help maximise spring flowering


